Hiking Blisters – Comprehensive Guide How to Prevent and Treat Them
I think you’ll agree when I say that hiking blisters are the number one enemy of every hiker.
We’ve all experienced getting blisters from hiking on our feet at least once in our life and we all know how terrible they can be.
However, fear not – there are numbers of things you can do to learn how to prevent blisters when hiking!
Today I’m presenting 9 ways to prevent blisters and two bonus techniques how to treat hiking blisters if they appear.
What causes blisters while hiking?
Blisters are your body’s reaction to friction, heat, and moisture. All these three factors combined create hot spots on feet, an environment perfect for blisters to appear.
During long hikes or walks, your feet are enclosed in hiking footwear without proper ventilation. Moisture and heat make your skin delicate and soft which makes your feet prone to injuries imposed by repeated friction.
When that happens, a fluid-filled raw blister is created causing discomfort or pain. Clear fluid filling the bubble is plasma which is diffused to help new cells divide and grow into connective tissue again. If the blister is left untouched, plasma will be reabsorbed and swelling will disappear.
How to prevent hiking blisters?
There are a number of ways for blister prevention to keep your feet blister-free so you can enjoy your hikes.
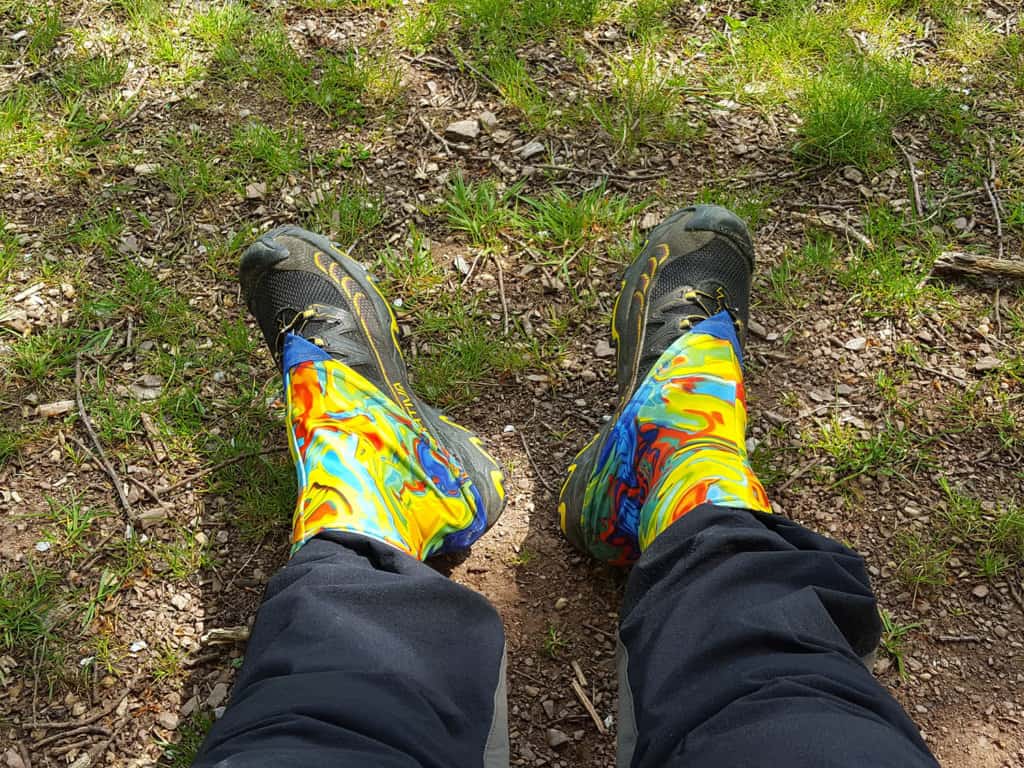
1. Choosing proper hiking boots
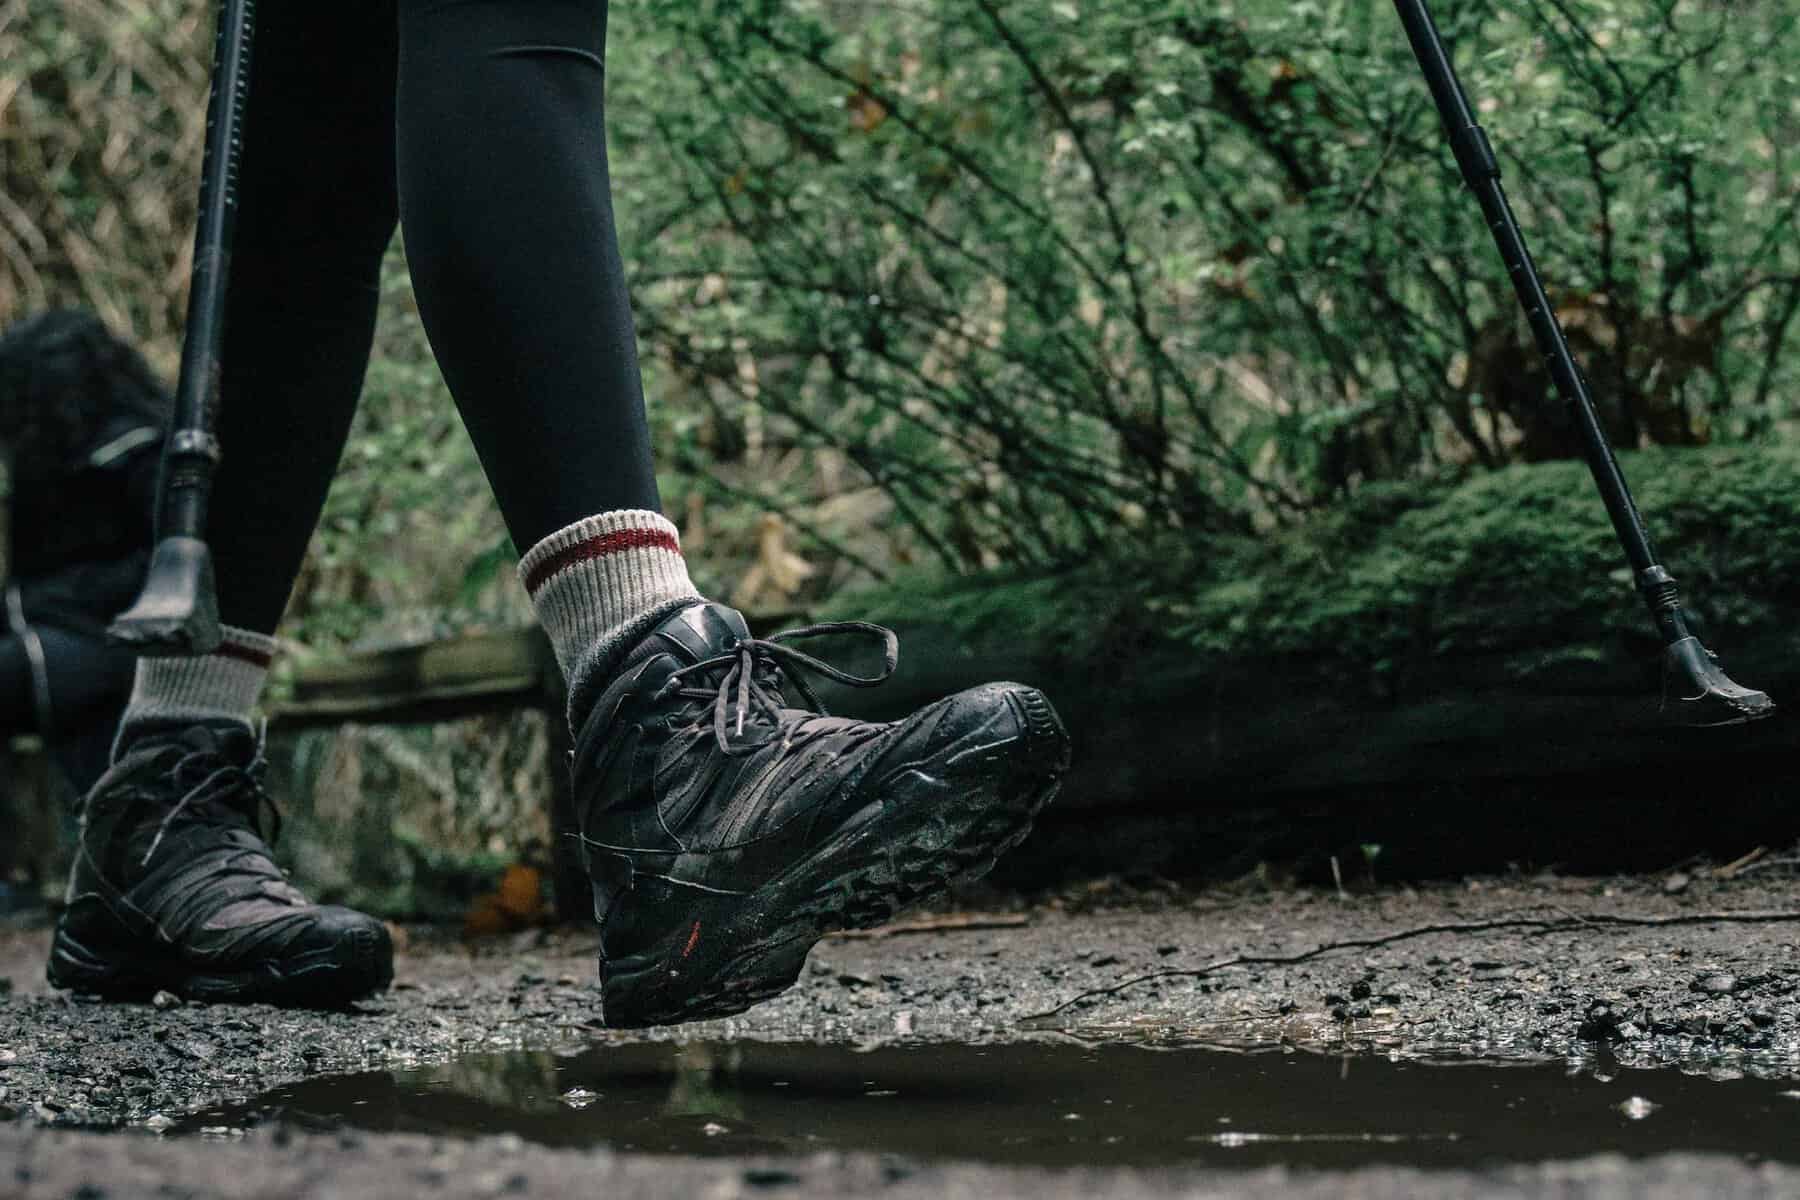
This is where everything starts. Your hiking boots or trail running shoes shouldn’t be either too tight as they will press against your feet nor too loose as they will cause friction. There are a number of things you should keep in mind when choosing a perfect pair of shoes:
- Hiking shoes should be around one size bigger than what you normally wear
- Always try your shoes before buying. Different brands have different sizing and you might end up with size you never wore but fitting you properly. If you’re buying online (tricky!) make sure you choose a shop with proper return policy.
- When trying on shoes in your local outdoor store try to do it in the afternoon – this is when your feet is the largest (they swell during the day as they would during hiking) In this way you’ll ensure that you shoes fit your feet when they’re at their biggest.
- When choosing shoes make sure to pay attention to toe box – keep in mind to have enough space to wiggle your toes
Top 5 Best Women’s Hiking Boots
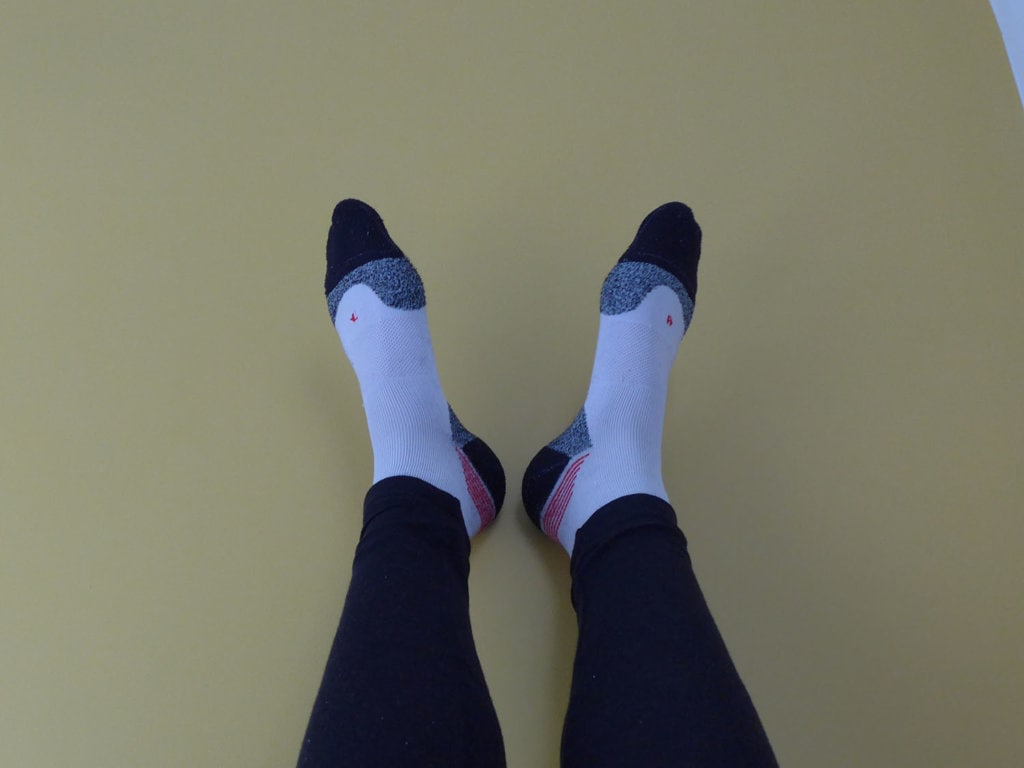
Table could not be displayed.2. Choosing proper socks
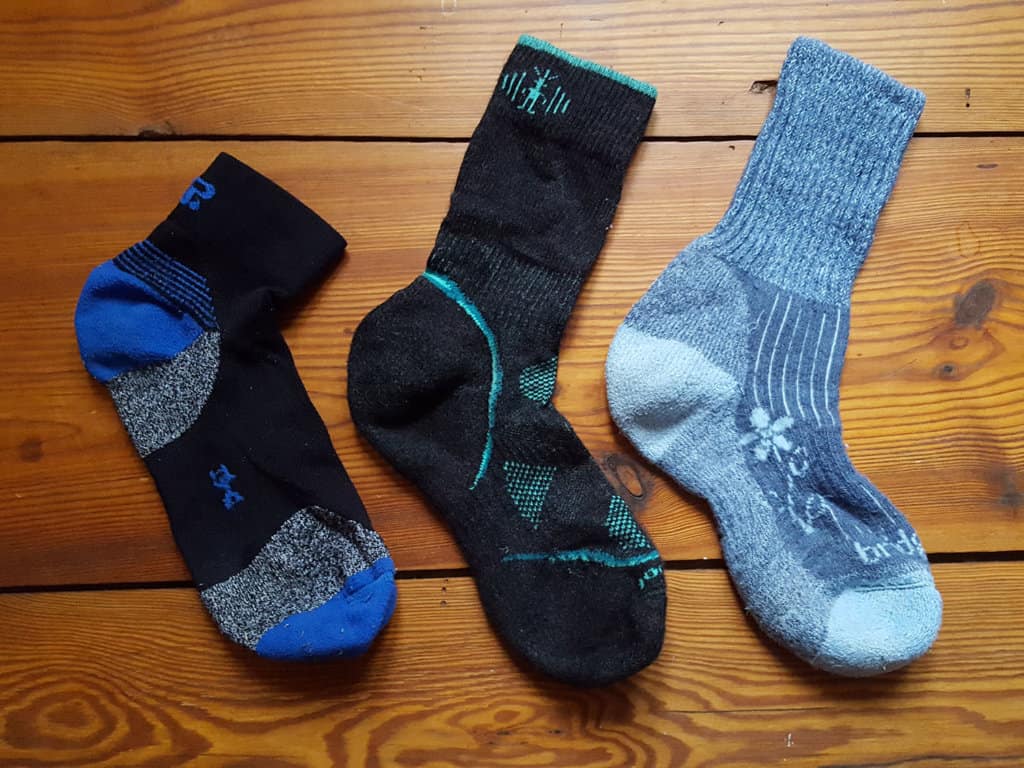
The second most important thing to do is choosing the best socks to prevent blisters while hiking. There are many types of socks to choose from: synthetic, mixed fibers, wool
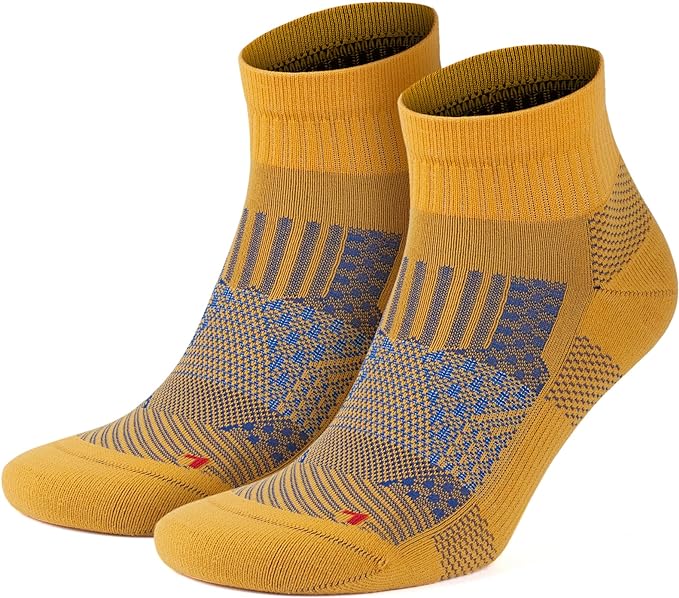
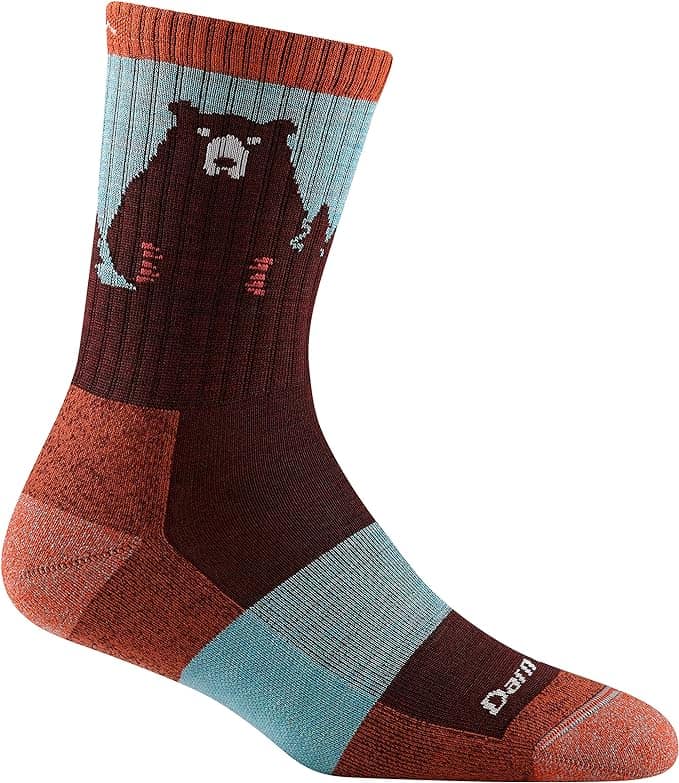
When choosing proper socks remember the following:
- Your hiking socks need to offer proper cushioning of the feet areas most exposed to abuse to prevent excess friction
- They should transport excess moisture away from your skin as the moist environment supports blister creation
- Hiking socks shouldn’t be too warm – heat is another factor increasing blister threat
- Make sure your socks fit you well and that your feet is not moving inside them
It’s a personal preference what type of socks you’re using. As a general rule you can use synthetic socks in warm weather and wool socks in colder weather.
Just as with shoes – don’t take untested socks to long hikes
3. Choosing proper insoles
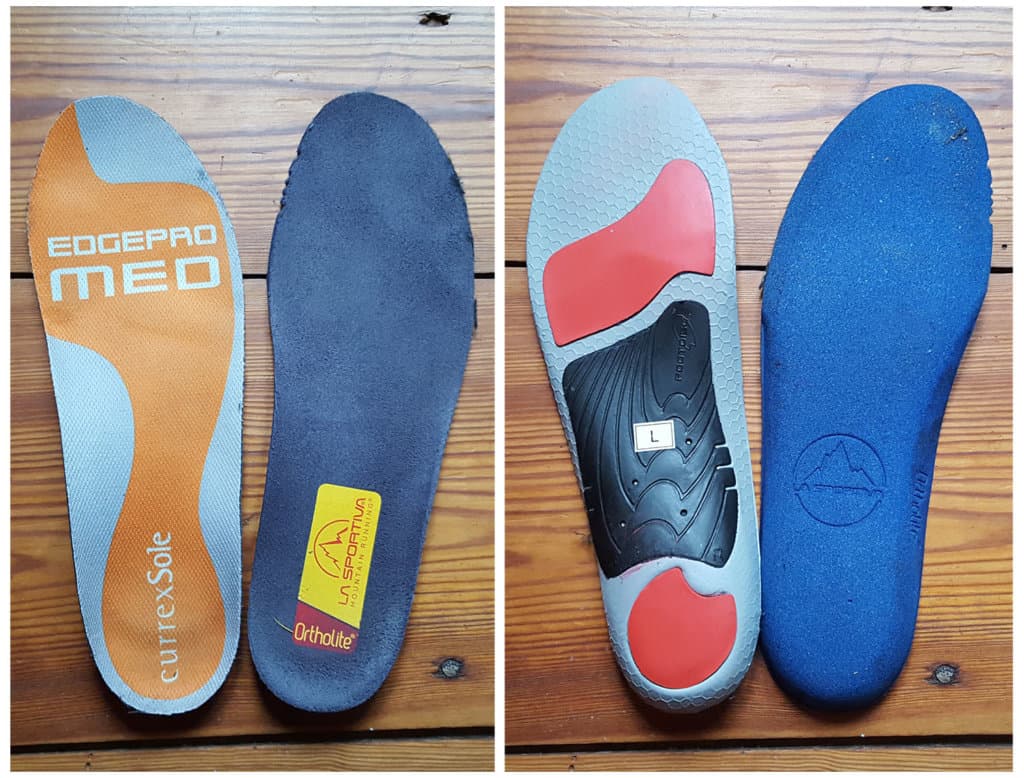
It might happen that you have great fitting hiking boots but the original insoles delivered with them are not comfortable, leading to heel blisters.
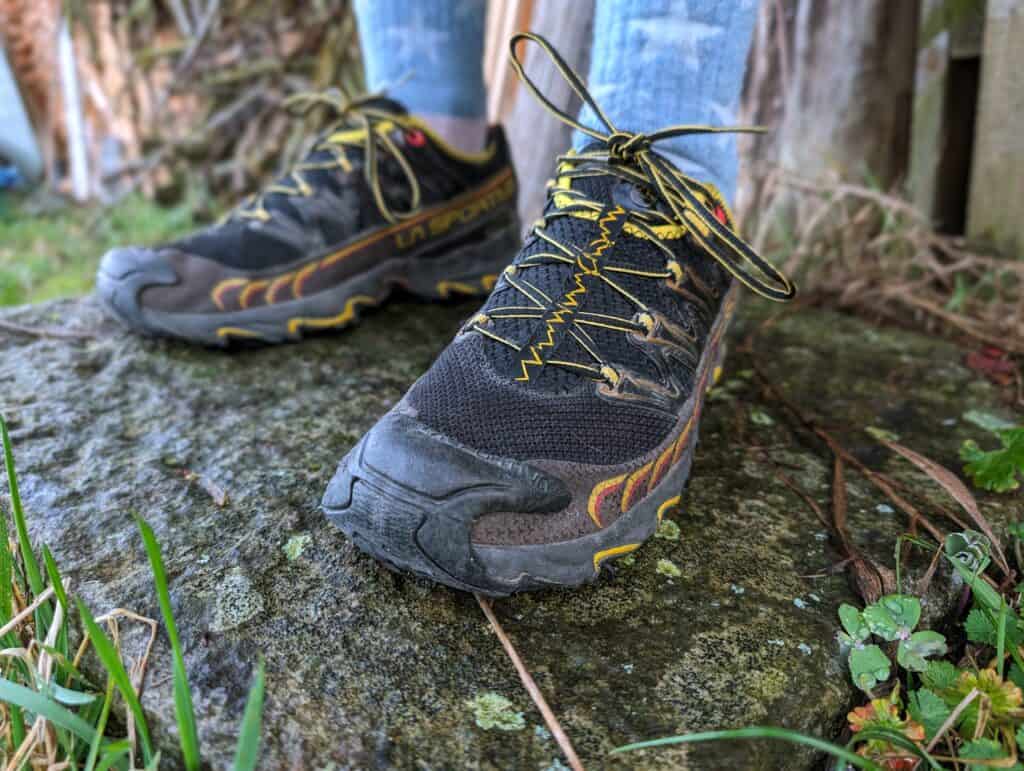
In these cases, you need to replace the original insoles of your hiking boots for an insole that will fit your feet and won’t cause problems. I had to exchange original insoles of my La Sportiva Ultra Raptors as they were causing blistering on my heels. I have invested in Curex insoles and I am very happy with them.
Read more
Make sure your insoles for your hiking boots are fitted properly and are not causing any issues. If you’re looking for tested and quality insoles consider following brands:
4. Layering up
Wearing two pairs of socks is one of the best ways to prevent hiking blisters. Liner socks and main socks over them reduces the risk of friction between your skin and sock/shoe almost to nothing. The friction is happening between the two sock layers rather than your body.
The only issue with this system is that it’s not really suitable for warm weather conditions – I would rather recommend it for early spring, fall and winter hikes.
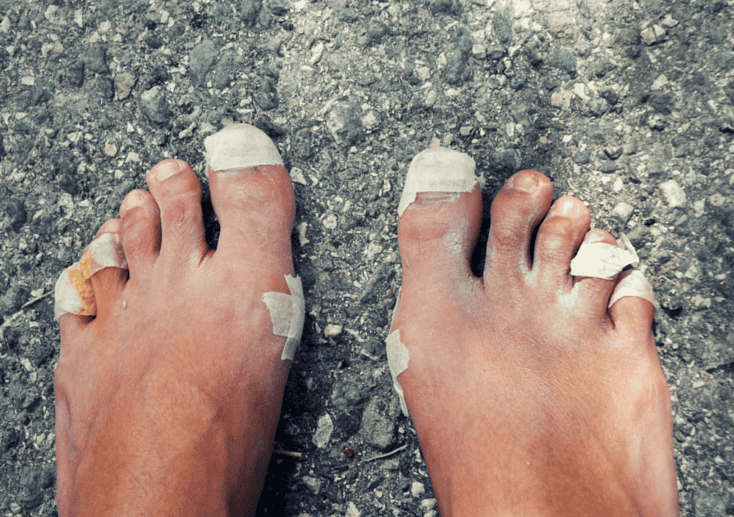
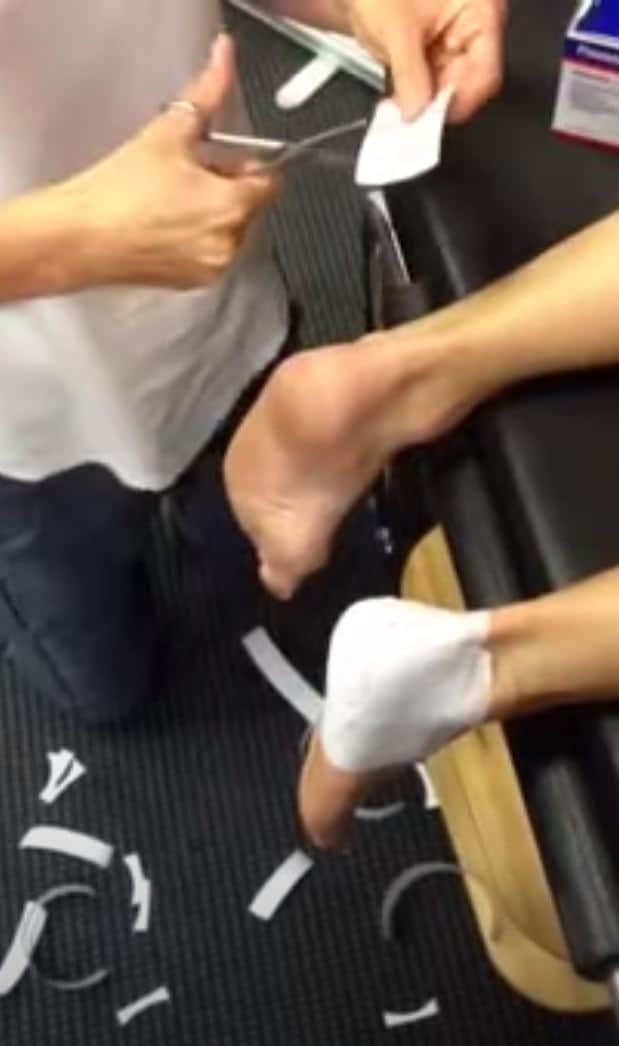
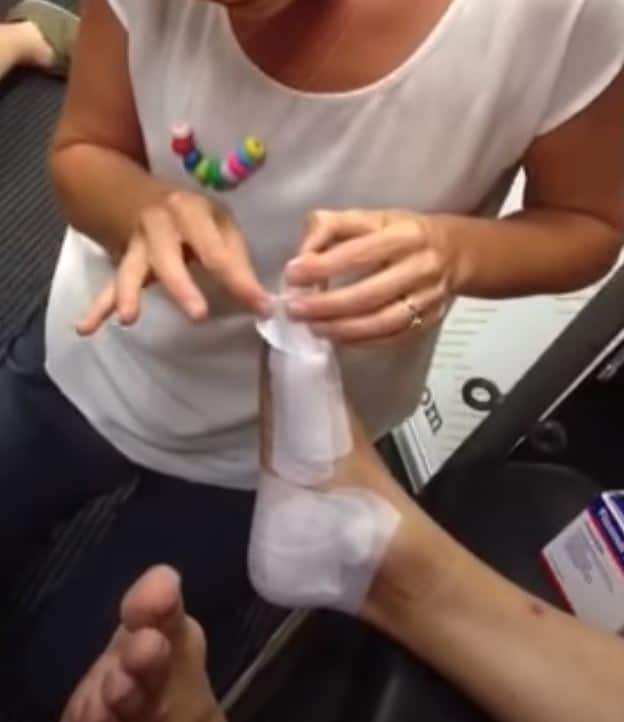
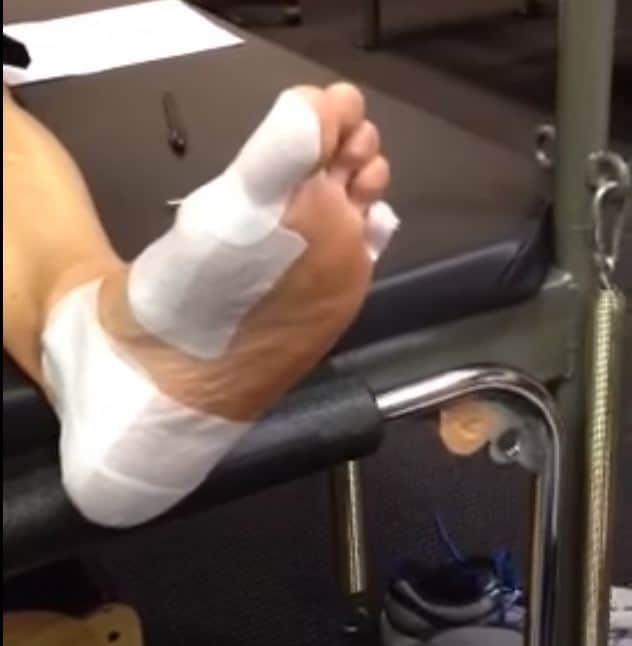
5. Using tapes and plasters
If you know your feet well you also know which areas, or hot spots, are most prone to blistering. It might happen that you just have delicate feet and despite good shoes and socks you will still get blisters on your feet.
In this case you can tape the problematic spots before you go hiking. Like that you will protect your feet before anything happens. There are many tape and plaster types you can use. The most common and popular are moleskin, duct tape, and athletic tape Leukotape and Fixomull. I personally use Fixomull – it’s a stretchy plaster type tape designed for sportsmen. It sticks very good, it’s breathable and it doesn’t peel of. It’s easy to cut and apply and protects very your feet very well. Using it you can really blister proof your feet.
Taping your feet, especially for long distance walking, takes a bit of practice and can sometimes be bit tricky. I recommend you watch these three really great videos to help you protect your feet the right way:
Heal taping
Big toe taping
Toes taping
6. Using gels or lubricants
Another technique to prevent hiking blisters is using some kind of cream, gel or other lubricant on the blister hot spot. Using those is an alternative to taping – using both techniques on the same spot won’t work too well. Tapes or plasters won’t stick very well on a cream treated areas.
The principle is really simple – just apply the cream or lubricant of your choice before you go hiking. Make sure your feet are dry and clean before you do so. There are many different products you can use for this purpose – some of the best and most popular are:
- Vaseline
- Foot Glide
- Blister Shield (it’s a powder actually but works in a similar way as a lub)
- Blister Defense Stick
7. Resting your feet
Now this is as important as having good shoes and socks. When you’re hiking your feet swell, get wet and don’t have enough air circulation. All of that can be a cause to hiking blisters. By resting your feet during your hike you reduce the severity all of these symptoms and keep your foot care in good shape.
Every time you make a stop longer than 20 minutes do the following:
- Remove and ventilate your shoes
- Remove and ventilate your socks
- Let your feet dry and rest
- Lift your feet to reduce the swelling
Following this routine every time you take a longer brake will make miracles to your feet. It really helps to reduce the risk to getting blisters. Additionally to being a great blister prevention method it also feels amazingly good!
8. Cleaning
During each stop inspect your shoes, socks and feet and remove any sign of debris and other dirt. Sand, dust or small stones cause friction which quickly translates into feet blisters.
Hiking gaiters are a great piece of gear that prevents any kind of debris from getting into your shoes. Using them will keep your shoes dirt free.
9. Breaking in your shoes
Not many hiking boots are “good to go” straight from the box. That is why before embarking on a longer adventure your should use your shoes before and brake them in so that they fit your feet perfectly.
Wear your new hiking boots during smaller hikes, walks in a park or around the house. Make sure they receive enough “abuse” before you take them for a longer, more demanding trip.
How to treat hiking blisters
It might happen that you didn’t protect your feet properly while hiking with blisters, or all of the above blister prevention techniques failed. You feel that something bad is happening to your feet and it’s time to act before it’s really too late.
To do that you need to make sure you carry your personal first aid kit. You can prepare it yourself or rely on ready made kits.

There are two situations which require different treatment:
1. Small/undeveloped blisters
If you only start to feel that you’re getting a hot spot blister, don’t wait and act immediately! Honestly keeping walking and thinking it’s not so bad is the worst thing you can do.
Here are the steps to follow when the problem is still small:
- Make a pause and follow all the steps from point 7 to rest and relax your feet
- Inspect your feet thoroughly and locate any hot spots you might have
- Apply protection in a form of plaster or tape
- Make sure the spot is properly secured and you don’t feel any discomfort while walking again
Following these simple steps in early stages will most likely help prevent blisters while hiking.
Remember the key here is to act immediately!
2. Blister in full bloom
Depending on what stage of your hike you’re in, there are different things you can do for treating hiking blisters.
SCENARIO 1 – you still need to hike several hours follow the below steps to treat your blister and be able to keep on walking:
- Stop and follow all the steps from point 7 to rest and relax your feet
- Clean and disinfect your hands
- Clean and disinfect the blister area
- Prepare a sharp needle or safety pin and disinfect it as well
- Pop the blister close to its base
- Carefully drain the fluid out of the blister bubble. Be gentle and make sure you don’t tear the skin
- Keep the blister’s loose skin as a protection against infection of the damaged area underneath
- Disinfect the blister area again and let it dry a little
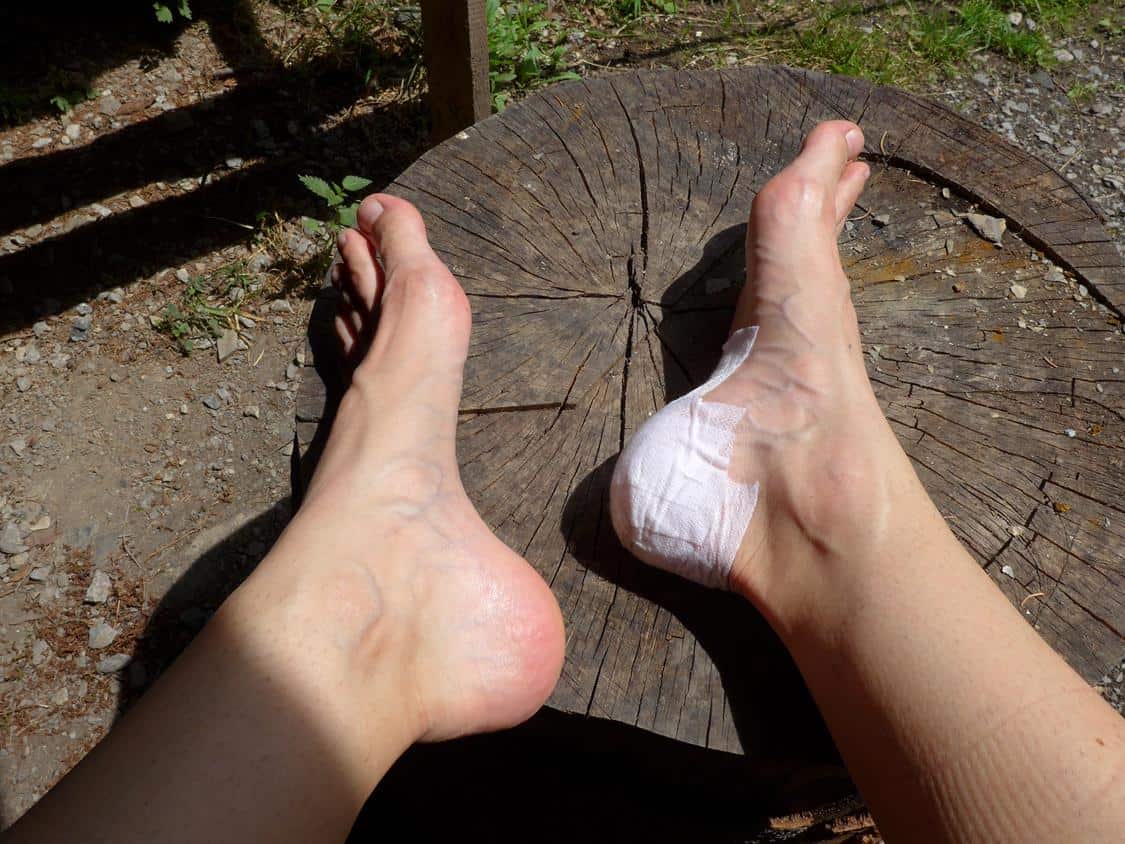
- Apply a protective dressing. This can be anything you have in your first aid kit: plaster, gel pad, special blister protection bandaid. Whatever it is make sure the dressing is secure – apply additional tape layer for additional protection
If you treat your blister with a blister kit, you should be able to keep on hiking. You might have heard opinions not to pop the blister but if you need to keep on walking, leaving it intact will only make things worse. Pain will increase and the blister might develop into a nasty, bloody, open wound – no one wants that.
Once you reach your camp spot, remove the dressing and let the wound dry and breathe. Make sure it stays clean. If you carry Neosporin or any other antibiotic ointment, you can apply it for the night. If you need to keep on hiking the next day, make sure you apply another protective dressing and treat your feet well with anti-bacterial ointment.
Check this nice video for directions how to apply protective dressing:
SCENARIO 2 – you reached your camping spot and don’t need to hike anymore
- Clean and disinfect your hands
- Clean and disinfect the blister area
- Prepare a sharp needle and a thread and disinfect it as well
- Run the needle through the blister as close to the bottom of it as possible
- Remove the needle and keep the thread inside the blister so that it’s sticking out in both ends
- Through the night the fluid will drain through the thread and your blister will dry out and flatten
- In the morning remove the thread and disinfect the affected area
- Apply a protective dressing and make sure it’s secure
Now, it might seem a little invasive to run the needle through the whole blister but believe me this method works really well and brings your blister down to a manageable problem.
Conclusion
I have tested all of the above tips and techniques myself in the field and had to learn how to prevent and treat hiking blisters while hiking the hard way. I went from ignoring hotspots and warning signs through full blister treatment and pain to being able to keep my feet happy and blister free.
As a hiker, learning how to avoid blisters while hiking is crucial. The methods described above will hopefully help you do that. I hope you will never find yourself in need to use the hiking blisters treatment techniques and always keep those trouble makers away.
Keep hiking!


Hey Hadas,
I’m glad you like it and I hope some of the tips can help your feet so that they always stay blister free :)
this is very useful, I always tend to get blisters ;/
great post!
The Fashion Matters- Travel & Fashion blog